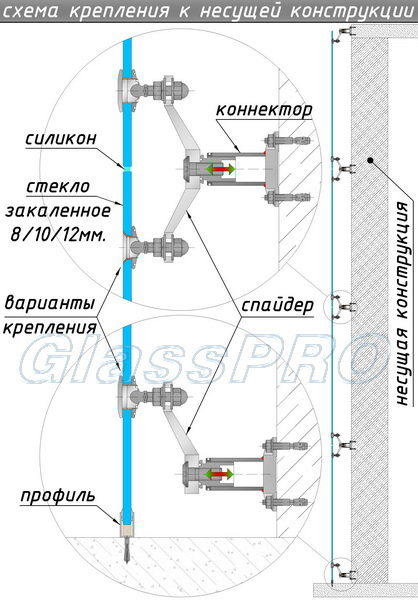
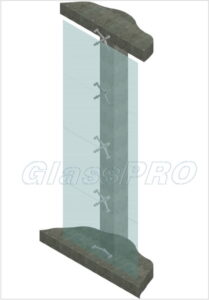
Fastening of “spider” glazing to major structures of the building:
This assembly diagram of the “spider” glazing structures forms the following sequence:
glass → hinge → bracket → connector → concrete column / ceiling / transom (see picture) ↓

For the installation of a “spider” system according to the pictured layout, there is no need to manufacture additional supporting elements. Instead, major structures of the building are used – usually concrete columns, floors and girders. It is, of course, convenient and appealing in terms of costs and work time, but it is applicable only in certain cases. A suitable configuration of concrete structures facing the facade should be set at the design stage of the building, or it should be formed in a successful way if the “planar” facade is planned to be built near the structure to be reconstructed. As practice shows, this layout is primarily used in combination with other installation systems.
When comparing the mounting concept of “spider” glazing onto the capital structures of a building with other options (onto metal racks, glass fins or cable-stayed), its following advantages and disadvantages can be highlighted:
Advantages:
- uses existing load-bearing elements of the building;
- absence of additional supporting substructures;
- usually the cheapest compared to other installation schemes;
- relatively easy to design and install.
Disadvantages:
- restriction of freedom in design solutions, in particular in the size and segmentation of glass elements, due to the need to tie to concrete structures;
- due to the massiveness of concrete structures, it does not allow the main advantage of “spider” glazing- the creation of an airy, transparent and visually light glass wall – to reach its full potential.
![]()
 TM
TM
