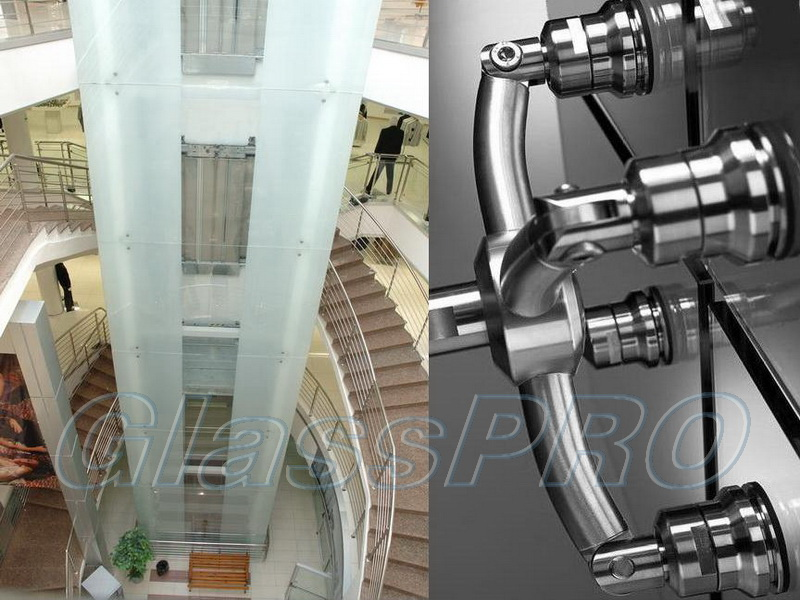


Fastening “spider” glazing to metal pillars:
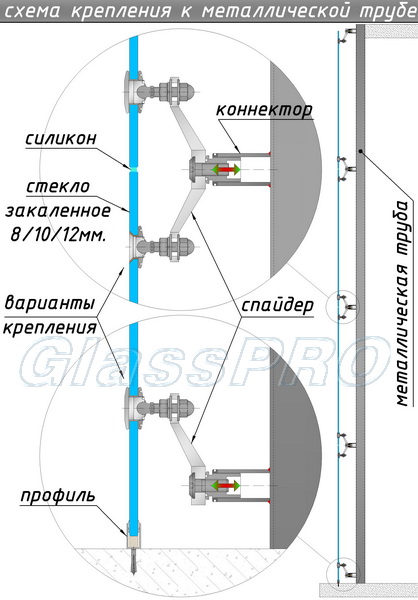
This assembly diagram of the “spider” glazing structures forms the following sequence:
glass → hinge → bracket → connector → metal stand (see picture) ↓

Evolutionarily – this is the original method of mounting “spider” systems, which is still widely used today. It involves the construction of additional metal columns on which the remaining structural elements are then mounted. For the manufacture of such bearing racks, steel, stainless or aluminum pipes of various sections are used: round, drop-shaped, square, etc. Due to the formation of a kind of metal frame, it becomes possible to create the most complex structures that combine various glazing planes, including inclined and domed ones. All this gives the architect the opportunity to create and implement the most incredible projects and solutions.
When comparing the installation scheme of “spider” glazing on metal racks with other options (on capital structures, glass ribs or cable-stayed), we can highlight the following main advantages and disadvantages:
Advantages:
- the most simple and convenient design and installation;
- easily fits in with other building structures – interfloor ceilings, adjoining internal partitions;
- allows you to conveniently build free-standing pavilions and sheds;
- relatively inexpensive, only the concept of fixing the glazing to the capital structures of the building can compete with it in this respect.
Disadvantages::
- it is the most massive system with additionally built substructures, both visually and in terms of the occupied area inside the building;
- the structural elements may prevent full penetration of natural light into the interior of the room.
![]()
 TM
TM